
In this article, you’ll learn How to set up Site Kit by Google in WordPress.
Introduction:
If you want to connect powerful Google tools like Search Console, Analytics, AdSense, and PageSpeed Insights to your WordPress dashboard with ease, Google Site Kit is the official plugin you need. This official plugin from Google simplifies the process of integrating these essential tools, offering valuable insights to help grow your website.a
What is Site Kit by Google?
Site Kit is a free WordPress plugin developed by Google. It connects key Google services to your website and displays all the data in your WordPress dashboard. It helps you understand how your website is performing and how users are interacting with your content.
Prerequisites:
Before you begin, make sure:
- You have a Google account (Gmail or Google Workspace).
- You’re logged into your WordPress admin dashboard.
- You have admin privileges for the site.
Step #1:Install the Site Kit Plugin
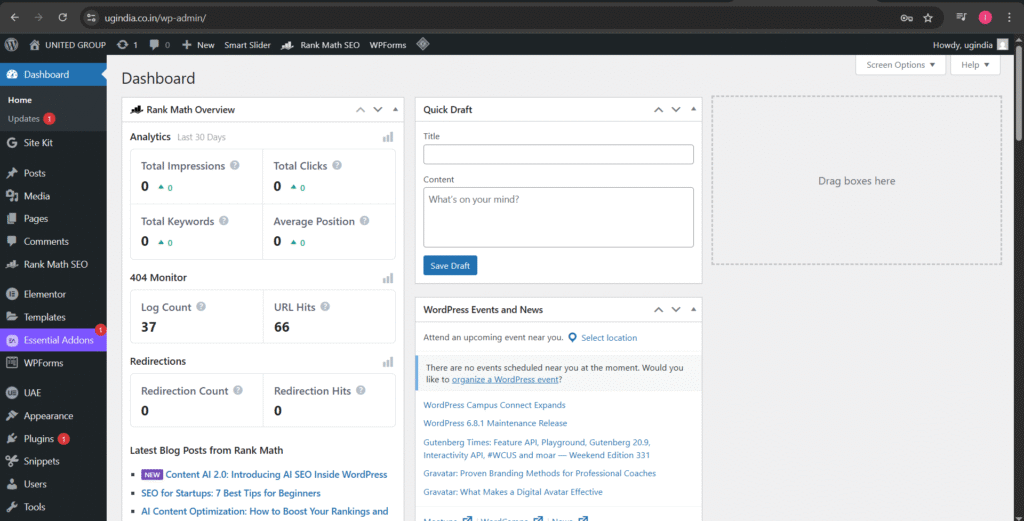
Log in to your WordPress dashboard.
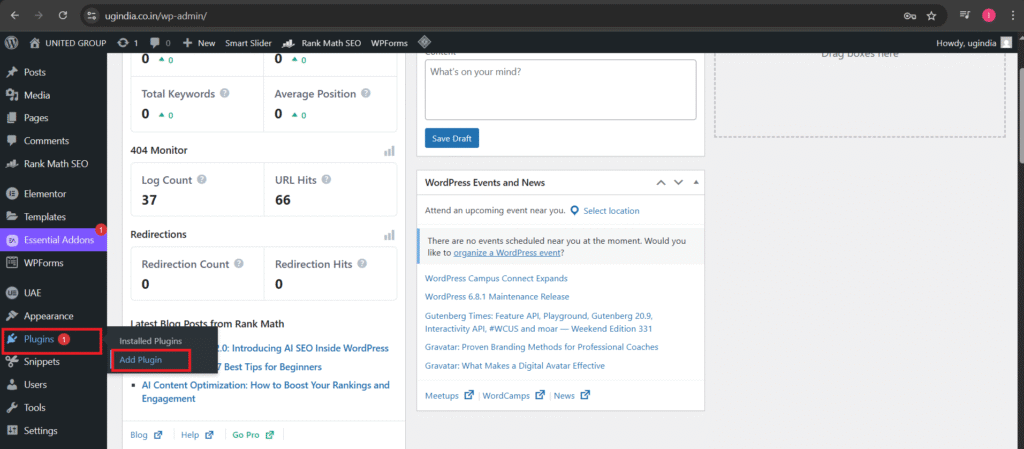
Navigate to Plugins > Add Plugin.
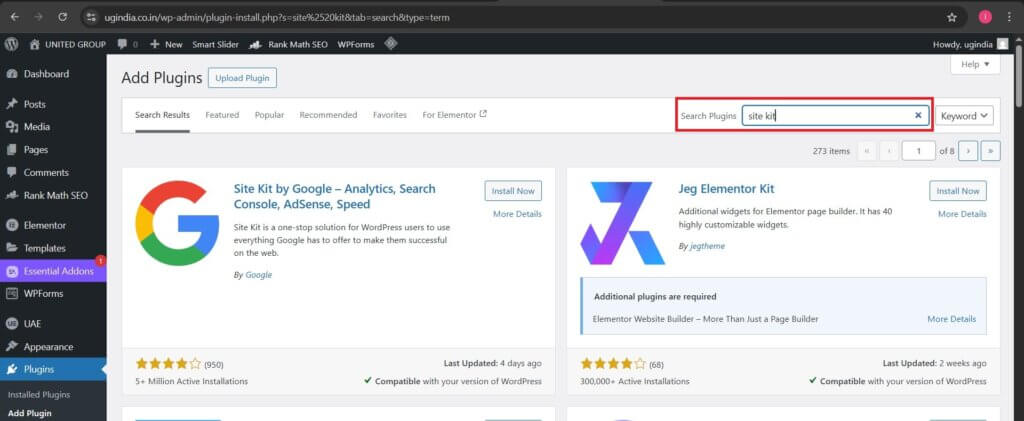
In the search bar, type “Site Kit by Google”.
“Click ‘Install Now’ next to the official plugin by Google.”
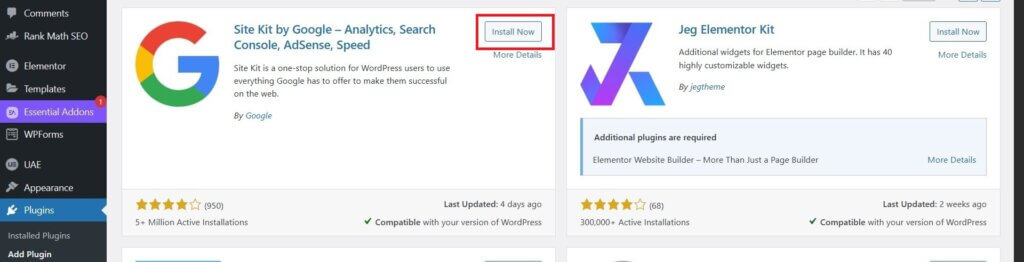
Once installed, click Activate.

Step #2:Launch the Setup Wizard
On the activation success screen, click the green Start setup button.
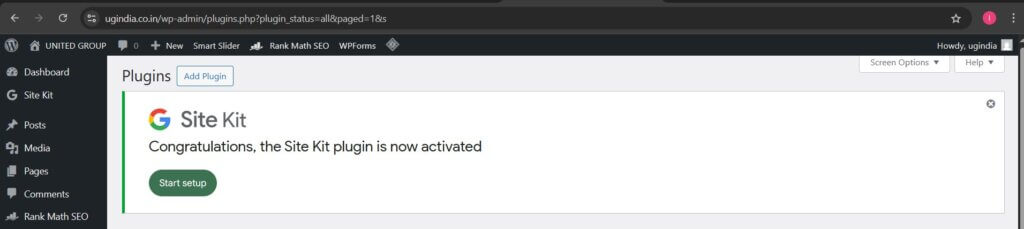
Site Kit will now guide you through connecting your WordPress site to your Google account.
Step #3:Connect Your Google Account and Start Setup
After clicking “Start setup”, you’ll land on a screen like this:
Here’s what to do next:
- Check the box to connect Google Analytics (optional but recommended).
- Leave the second checkbox enabled to help Google improve Site Kit (optional).
- Click the green “Sign in with Google” button.
This will open a secure Google sign-in window.

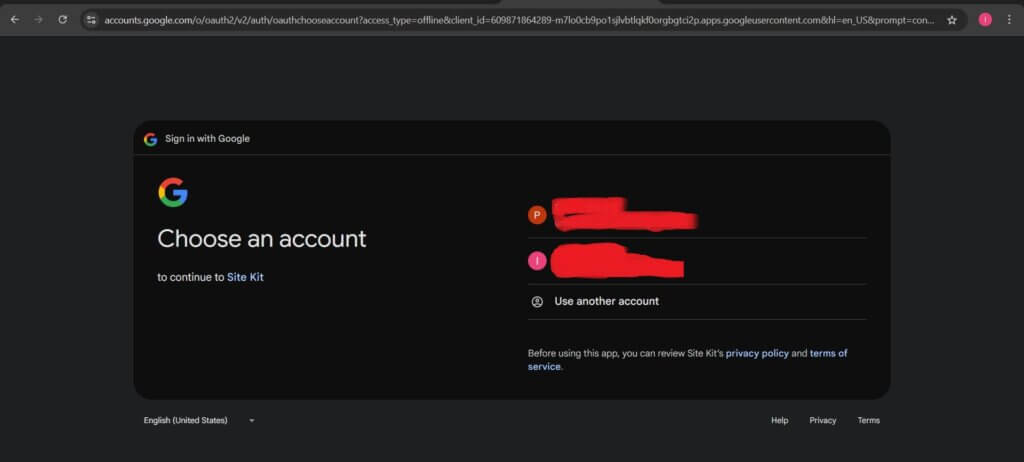
After clicking “Sign in with Google”, you’ll be redirected to a secure Google login screen like this:
Here, you’ll see a list of Google accounts already logged into your browser. You have two options:
- Select an existing Google account
If your desired account is listed, click on it. - Use another account
If the correct Google account is not listed, click “Use another account” and log in with the email that manages your Google Analytics or Search Console.
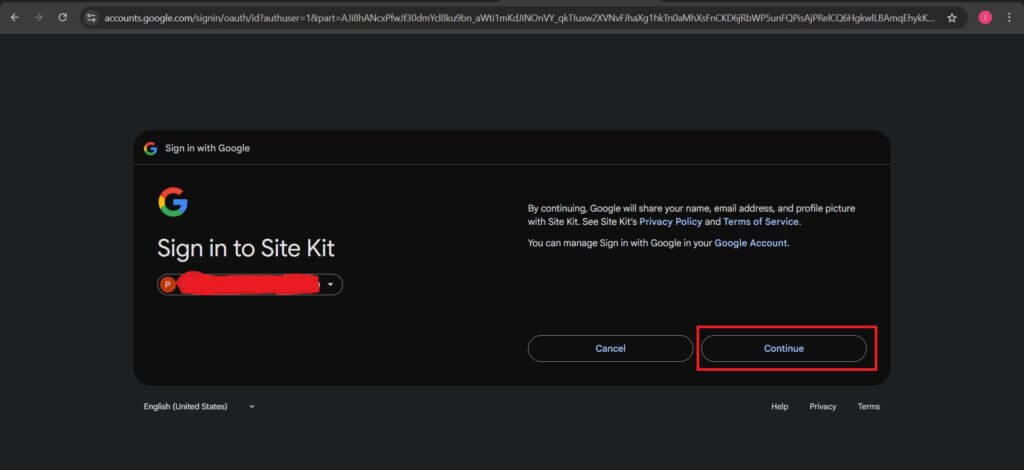
After selecting your Google account, you’ll see a screen like this:
This screen confirms that:
- You are signing in to Site Kit by Google
- Your selected Google account will share your name, email, and profile picture with Site Kit
Now:
Click the blue “Continue” button to proceed.
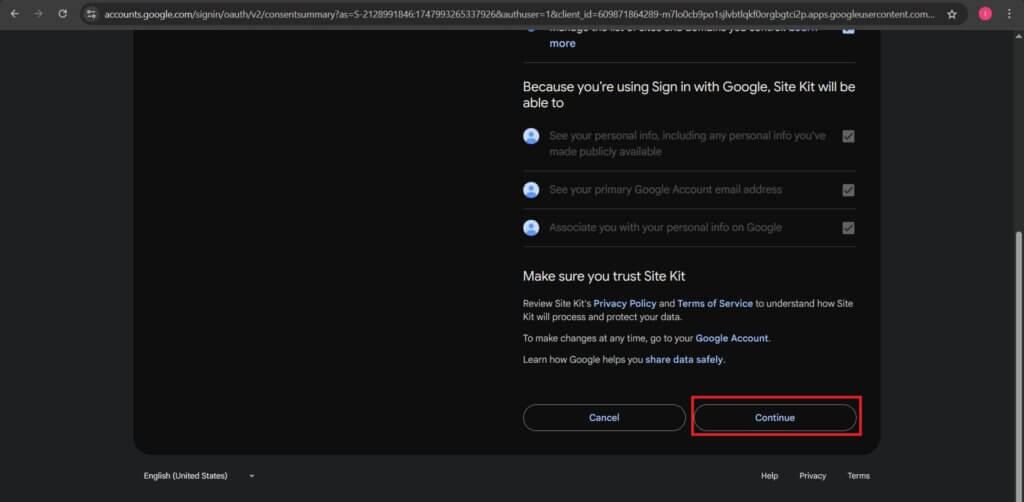
Step #4:Grant Permissions to Site Kit
Once you click “Continue”, you’ll be asked to grant Site Kit access to specific Google services. You’ll see a screen like this:
Site Kit needs permission to:
- Access your Google Analytics data
- View your Google Tag Manager containers
- Manage your Search Console data
- View and manage the list of domains you control

Ensure all permissions are selected (they usually are by default), then scroll down and click “Continue”.
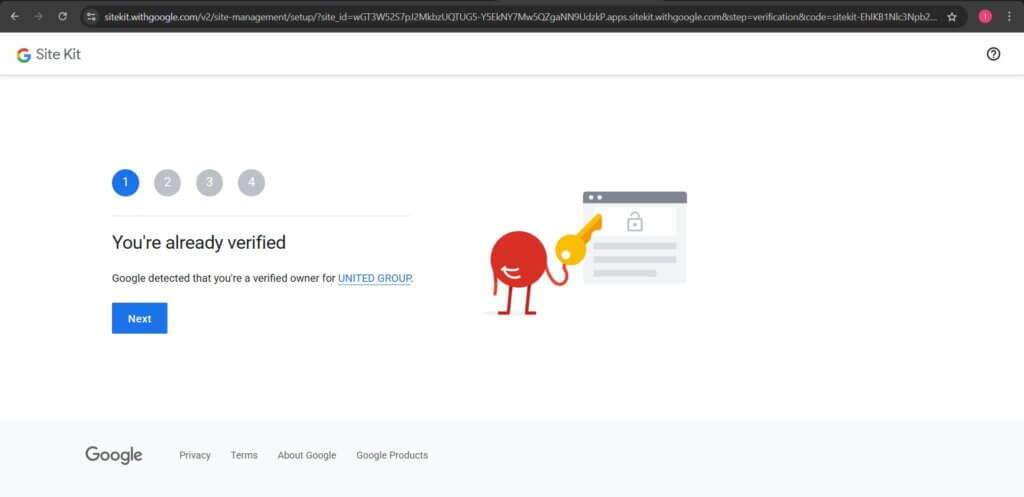
Step #5:Verify Site Ownership
After granting access, Site Kit will automatically check if you’re the verified owner of your website domain in Search Console.
If the site is already verified, you’ll see a screen like this:
- Google confirms that you’re a verified owner.
- You don’t need to manually add any verification code or tag.
- Click the “Next” button to continue.
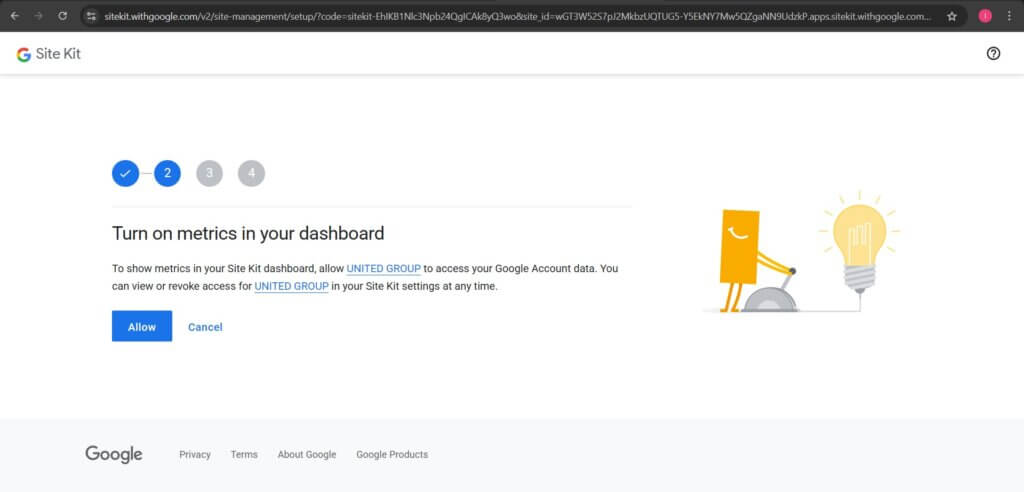
Once Google confirms you’re the site owner, Site Kit will ask permission to access your Google Account data. This is necessary to show useful metrics on your WordPress dashboard.
You’ll see a screen like this:
- Site Kit requests access to display analytics and performance insights.
- This includes data from Google Search Console and other connected services.
- Click “Allow” to continue.
Once you allow Site Kit to access your data, the next step confirms the connection to Google Search Console.
You’ll see a screen like this:
- Your site is now added to Google Search Console.
- This allows Site Kit to show how people find your site via Google Search.
Click “Next” to continue to the final step.

It will link the Analytics service with your website.
This allows you to track how users find and interact with your website.
Once Site Kit has successfully connected your site, you’ll be prompted to set up Google Analytics. Site Kit will pre-fill the required details for your new Analytics account.

Step #6:Create Your Google Analytics Account
Once Site Kit has successfully connected your site, you’ll be prompted to set up Google Analytics. Site Kit will pre-fill the required details for your new Analytics account.
Here’s what to do:
- Review the Pre-filled Details:
- Account: UNITED GROUP (or your chosen name)
- Property: Your website URL (e.g.,
www.ugindia.co.in) - Web Data Stream: Matches your website URL
- Country: India
- Timezone: GMT+05:30 India Time
- Enable Enhanced Measurement:
- Keep this enabled to automatically track file downloads, form submissions, and other user interactions.
- Click “Create Account”:
- This will create a new GA4 (Google Analytics 4) property for your site.

After clicking the “Create Account” button, a new secure Google sign-in window will appear.
Here’s what to do:
- Select an existing Google account from the list shown — if it’s already signed in on your browser.
- Or, click “Use another account” if the account you want to use is not listed.
Make sure you use the same Google account that manages your Google Analytics, Search Console, or other connected services.

Once you’ve selected or logged into the correct account:
Site Kit will continue the setup automatically.
After confirming, click Continue.

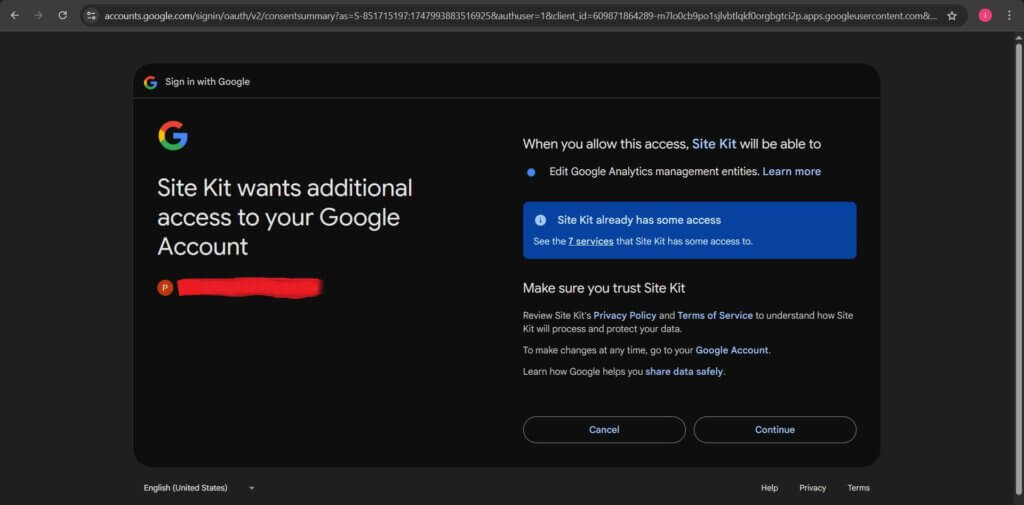
Site Kit will request additional permissions so it can:
- Edit and manage your Google Analytics properties.
- Access other linked services like Search Console, PageSpeed Insights, and more.
Click the Continue button to grant the required access and move forward.
Step #7:Accept Google Analytics Terms of Service
Once Site Kit requests additional access, you’ll be redirected to the Google Analytics Terms of Service page.
Check the box: “I also accept the Data Processing Terms as required by GDPR.”

After accepting the initial terms, scroll down to review Additional Provisions and Data Sharing Settings.
Check: “I accept the Measurement Controller – Controller Data Protection Terms…”
You can choose whether to allow Google to use your data for:
- Google products and services – optional.
- Modelling contributions & business insights – recommended.
- Technical support – helpful for support needs.
- Recommendations for your business – helpful for optimization suggestions.

Scroll down and click the “I Accept” button at bottom of page.

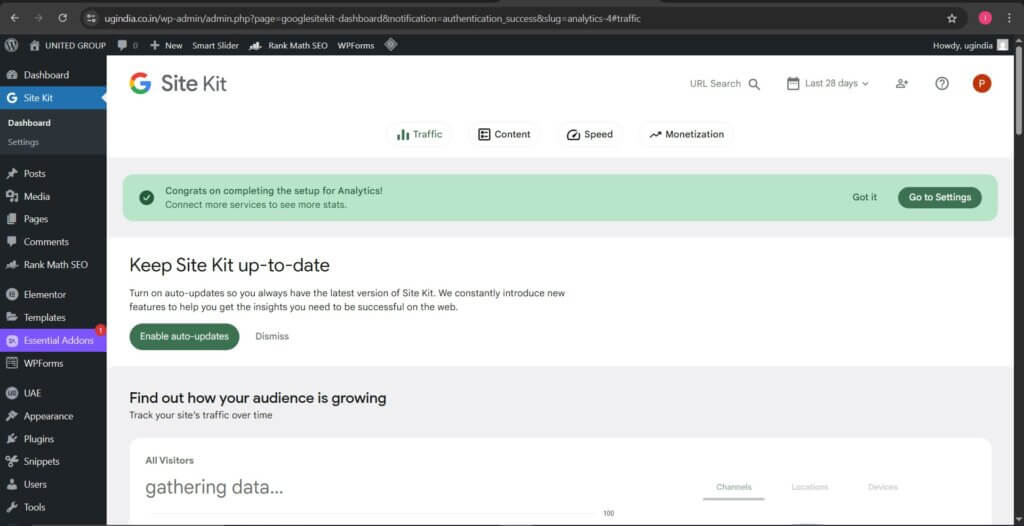
After completing the setup, you’ll see the confirmation message.

Click on the “Go to my Dashboard” button to access your Google Analytics dashboard and start tracking your website’s performance.
Step #8:Review Your Dashboard
Once setup is complete:
You’ll now see traffic data, top-performing pages, search keywords, site speed insights, and more—all within your WordPress dashboard.
Conclusion:
You’ve successfully set up Google Site Kit on your WordPress website! With Search Console and metrics now connected, you can view real-time insights about your website traffic, how users find your site, and more — all from your WordPress dashboard. This integration makes it easier to monitor and improve your site’s performance without needing to switch between multiple Google tools.
How to Setup Simple Membership Plugin in WordPress
Reference: